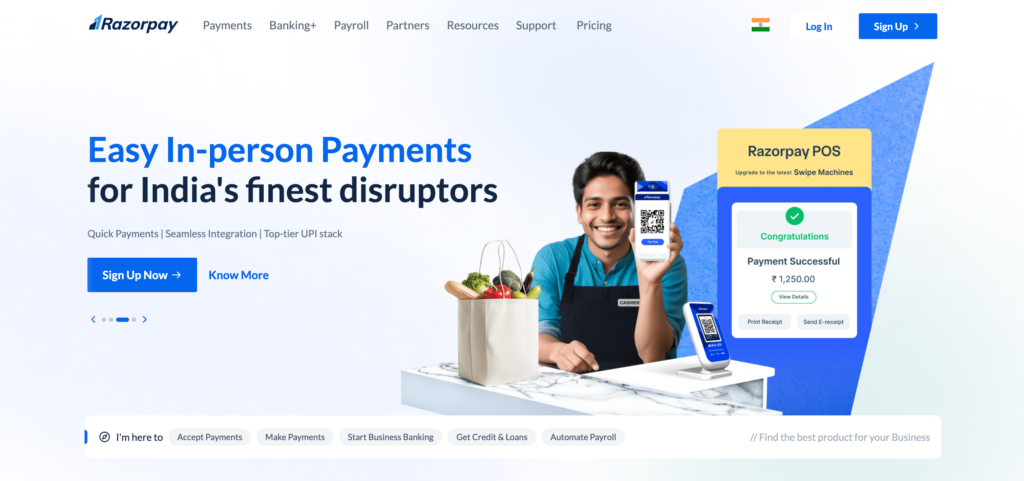
How To Get A Razorpay Account – Ultimate Steps And Requirements
Table of Contents
Are you worried about managing your payments as a business owner, especially eCommerce? Having a Razorpay account can solve most of your issues. But how to get one?
Did you know that in the financial year 2023-24, online transactions accounted for about 11,660 crores? Online transactions are becoming popular. With that, the demand for a reliable and efficient payment gateway also comes into being.

Razorpay, which was founded in the year 2014, has become a popular choice, especially when it comes to eCommerce businesses. Even on platforms like Shopify, Razorpay makes transactions seamless and reliable.
But how do you create an account on Razorpay? We will answer this question for you in this blog. Here, we will discuss all the steps and requirements needed to create a Razorpay account. So, let’s start.
What are the requirements For creating a Razorpay account?
It is important to understand the requirements to create a Razorpay account before you proceed to the steps. So, what are the requirements that you should be prepared with? Keep the following things in check:
- Contact details
- Platform details where you want to accept payments
- PAN details
- Business details
- KYC verification details
These are the requirements that are important when you create Razorpay account.
Step By Step Guide To Create Account on Razorpay
Now we know the requirements for creating a Razorpay account. So, you need to follow the steps mentioned below to create your account:

- The first step that you need to follow is to complete the SignUp process on the website.
- For this, you need to visit the website and navigate to the payment gateway option.
- Now click on Sign Up.
- Here, you need to enter your email address or mobile number and select your country.
- Once done, you will be asked to create your password. Make sure that the password is at least 8 characters long, has symbols, a letter, and numbers, and is strong.
- Now click on Create Account.
- In the next step, you will need to enter your mobile number in the space provided and click on Send OTP.
- If you need WhatsApp updates, you can also select the box below the space provided for entering your mobile number.
- Now you need to enter the OTP in the next step. If you did not receive the OTP, click on resend OTP for this. Enter the OTP and click on submit.
- In the next step, you need to enter your platform details. Where do you want to accept payments? For example, if you want to receive payments on your website, you have to enter your website’s URL.
- Enter your personal information, business type and details, and also PAN details. Post this, you also have to enter your contact details.
- Once all this is complete, now comes the step of KYC verification. Submit your KYC documents and details. You should check the details as per your business type.
After completing all these steps and the verification of your KYC, you are ready to use the Razorpay account.
Wrapping Up
Razorpay is an all-in-one payment solution that offers businesses the solution to accept, process, and disburse payments. Today, with the pace with which eCommerce is growing, you as a business need to have an efficient and reliable payment gateway.
For any further assistance that you need in your eCommerce business, Zopoxo is the best solution for you. We are the complete eCommerce business development from start to success. Make your eCommerce business seamless.
